Home>Garden Essentials>How To Hang Up Vertical Garden Planter
Garden Essentials
How To Hang Up Vertical Garden Planter
Modified: March 15, 2024
Discover the best way to hang up a vertical garden planter and transform your garden into a lush oasis. Our step-by-step guide will make your garden dreams come true!
(Many of the links in this article redirect to a specific reviewed product. Your purchase of these products through affiliate links helps to generate commission for Storables.com, at no extra cost. Learn more)
Introduction
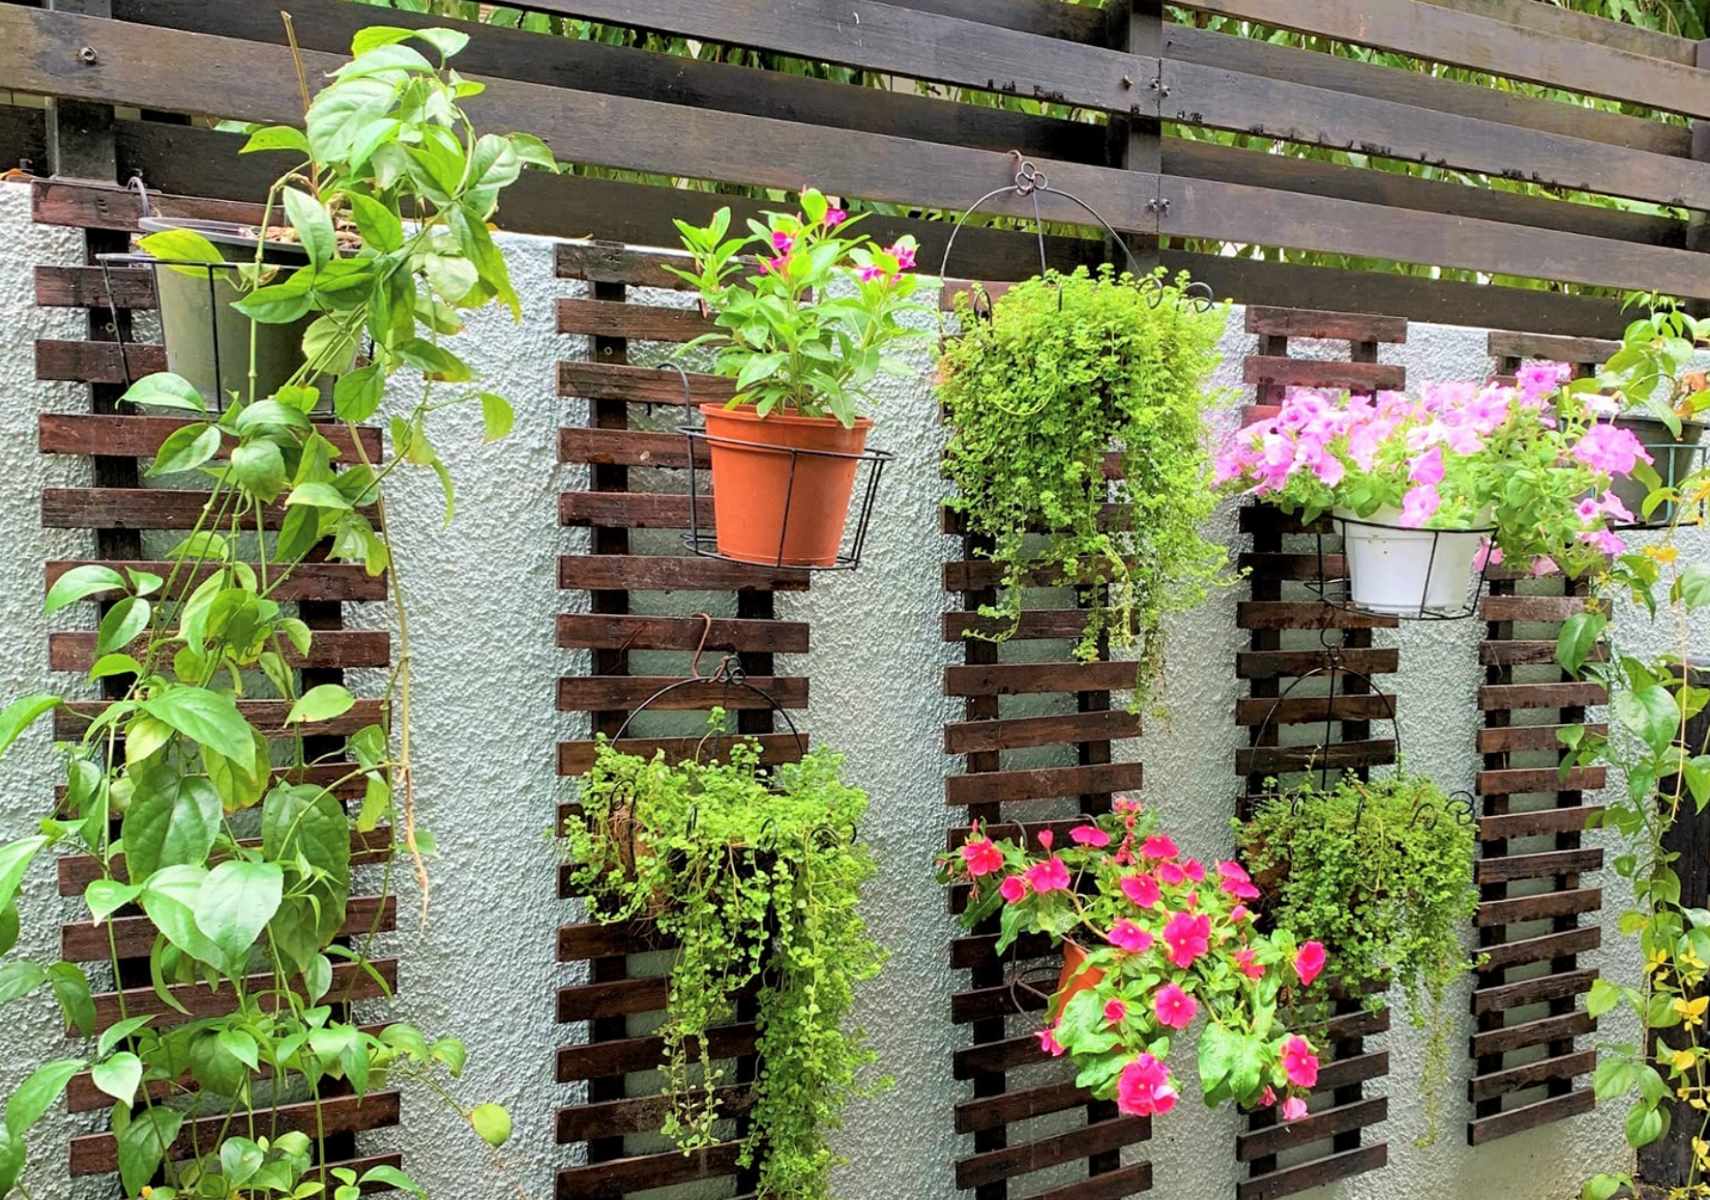
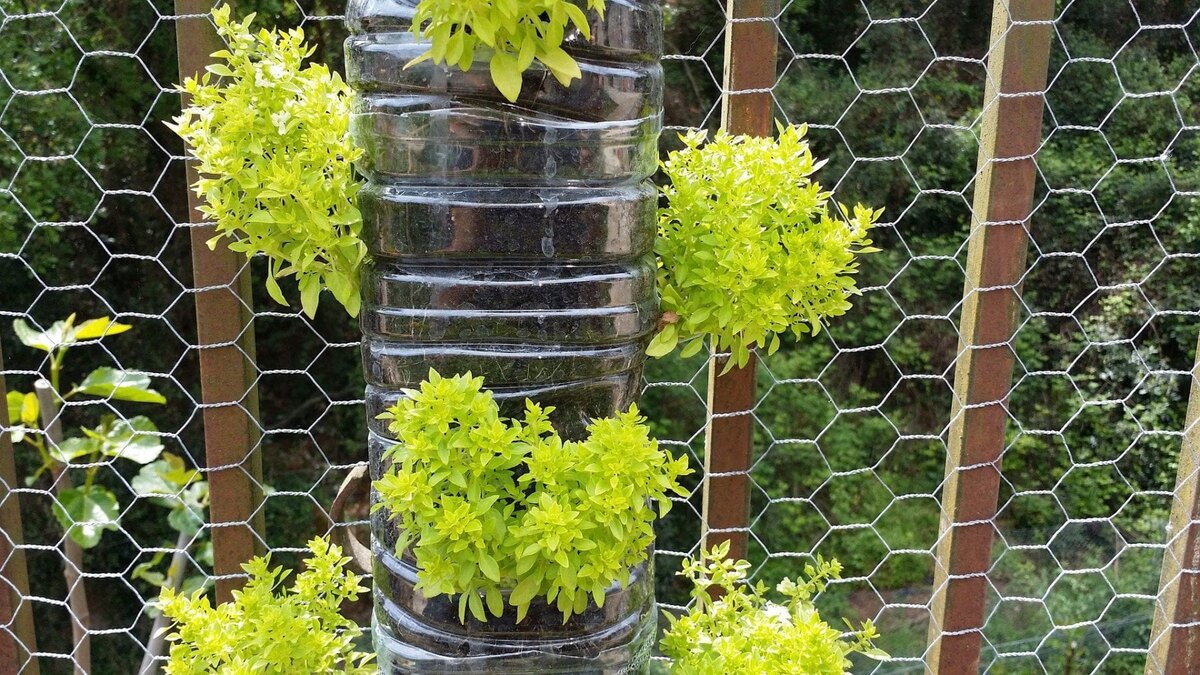
Welcome to the world of vertical gardening! If you’re looking to add some greenery to your home or outdoor space but are short on horizontal space, a vertical garden planter is a fantastic solution. Not only does it allow you to maximize your gardening space, but it also adds a unique and eye-catching element to your decor.
In this article, we will guide you on how to hang up a vertical garden planter, step by step. From choosing the location to planting and maintenance, we’ve got you covered!
Before we dive into the details, let’s quickly go through the materials you will need to complete this project:
- Vertical garden planter
- Wall brackets or hanging hooks
- Drill and screws
- Stud finder
- Plants and potting soil
- Watering can or hose
- Pruning shears
- Optional: Drip irrigation system
Now that you have all the necessary materials, let’s get started with the first step: choosing the location for your vertical garden planter.
Key Takeaways:
- Maximize your gardening space and add a unique touch to your home with a vertical garden planter. Choose a suitable location, prepare the wall, and install the support structure for a stable and secure setup.
- Create a stunning display of greenery by properly attaching the planter, planting your chosen greenery, and providing regular watering and maintenance. Enjoy the process and watch your plants flourish in their vertical habitat.
Read more: How To Build Vertical Garden
Materials Needed
To hang up a vertical garden planter, you will need the following materials:
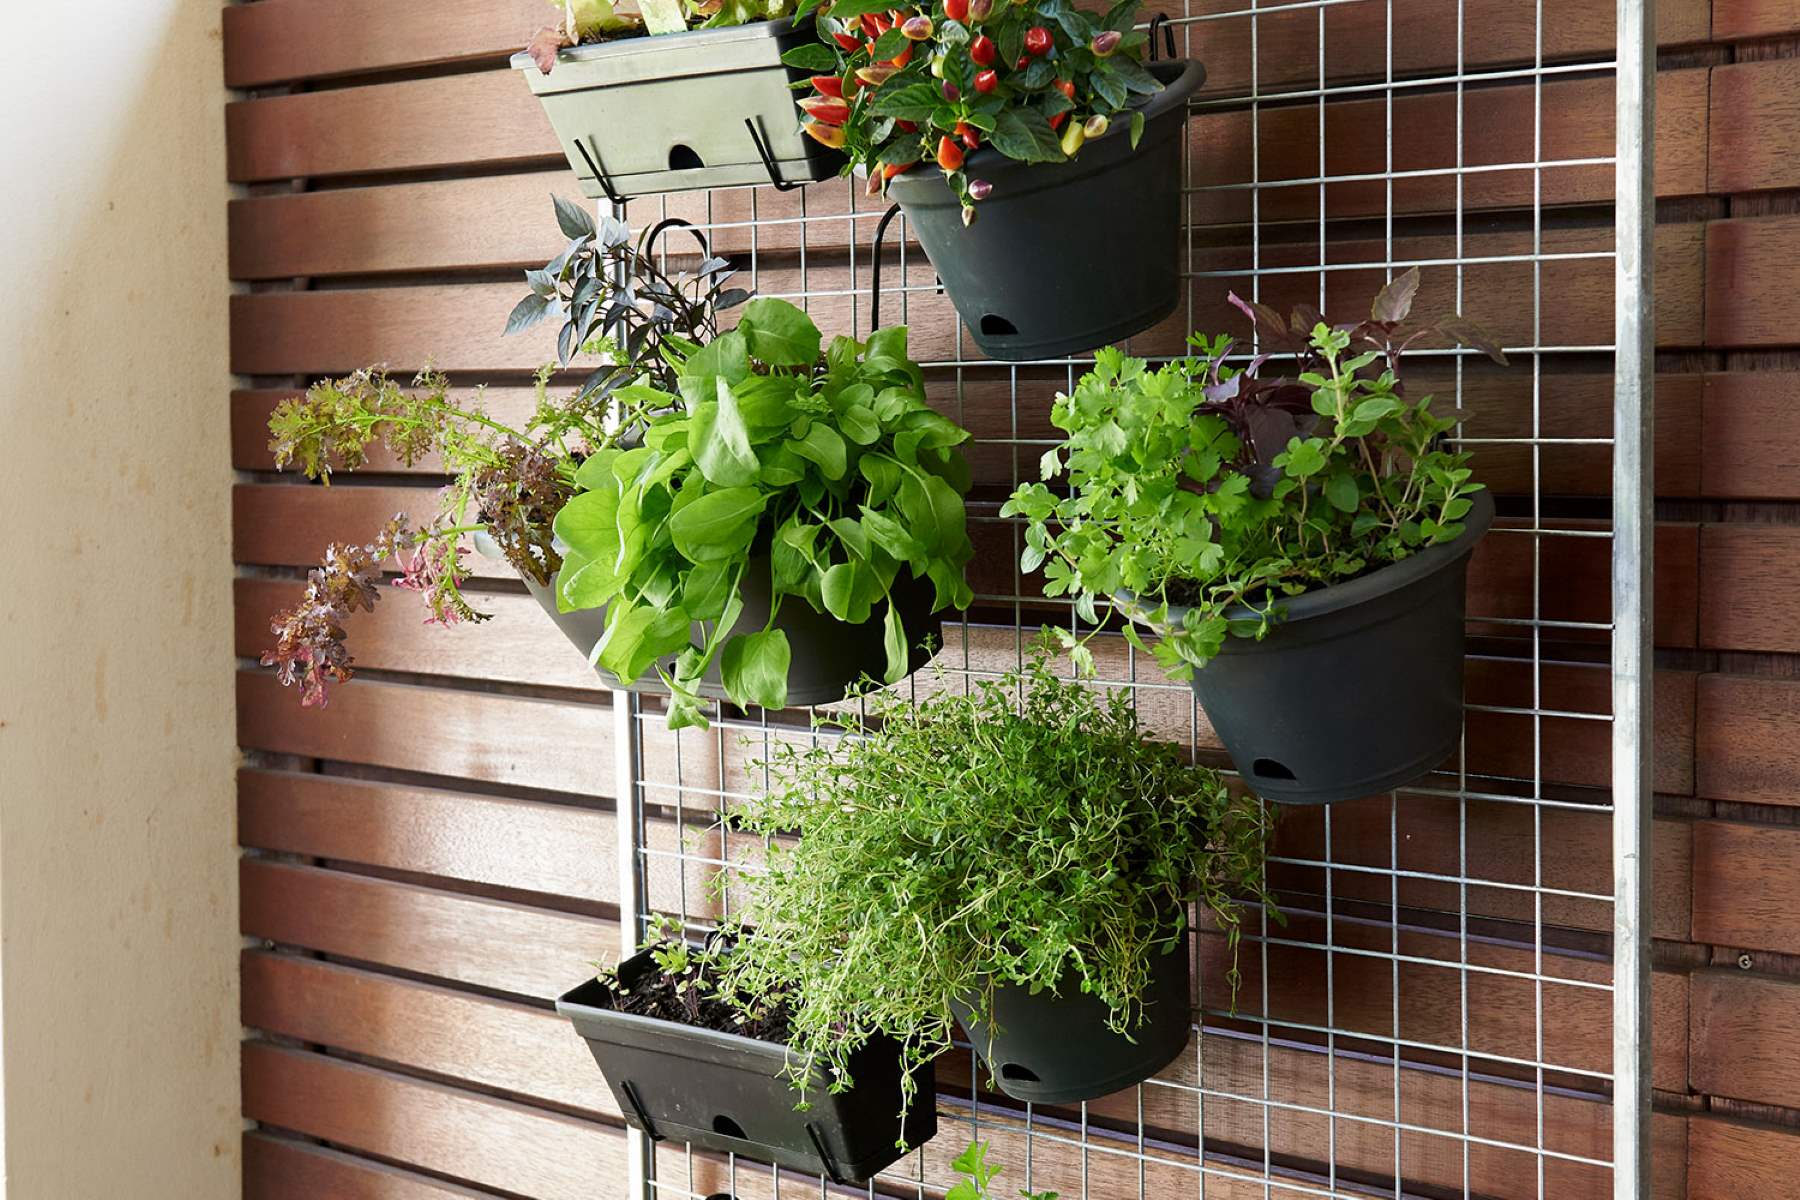
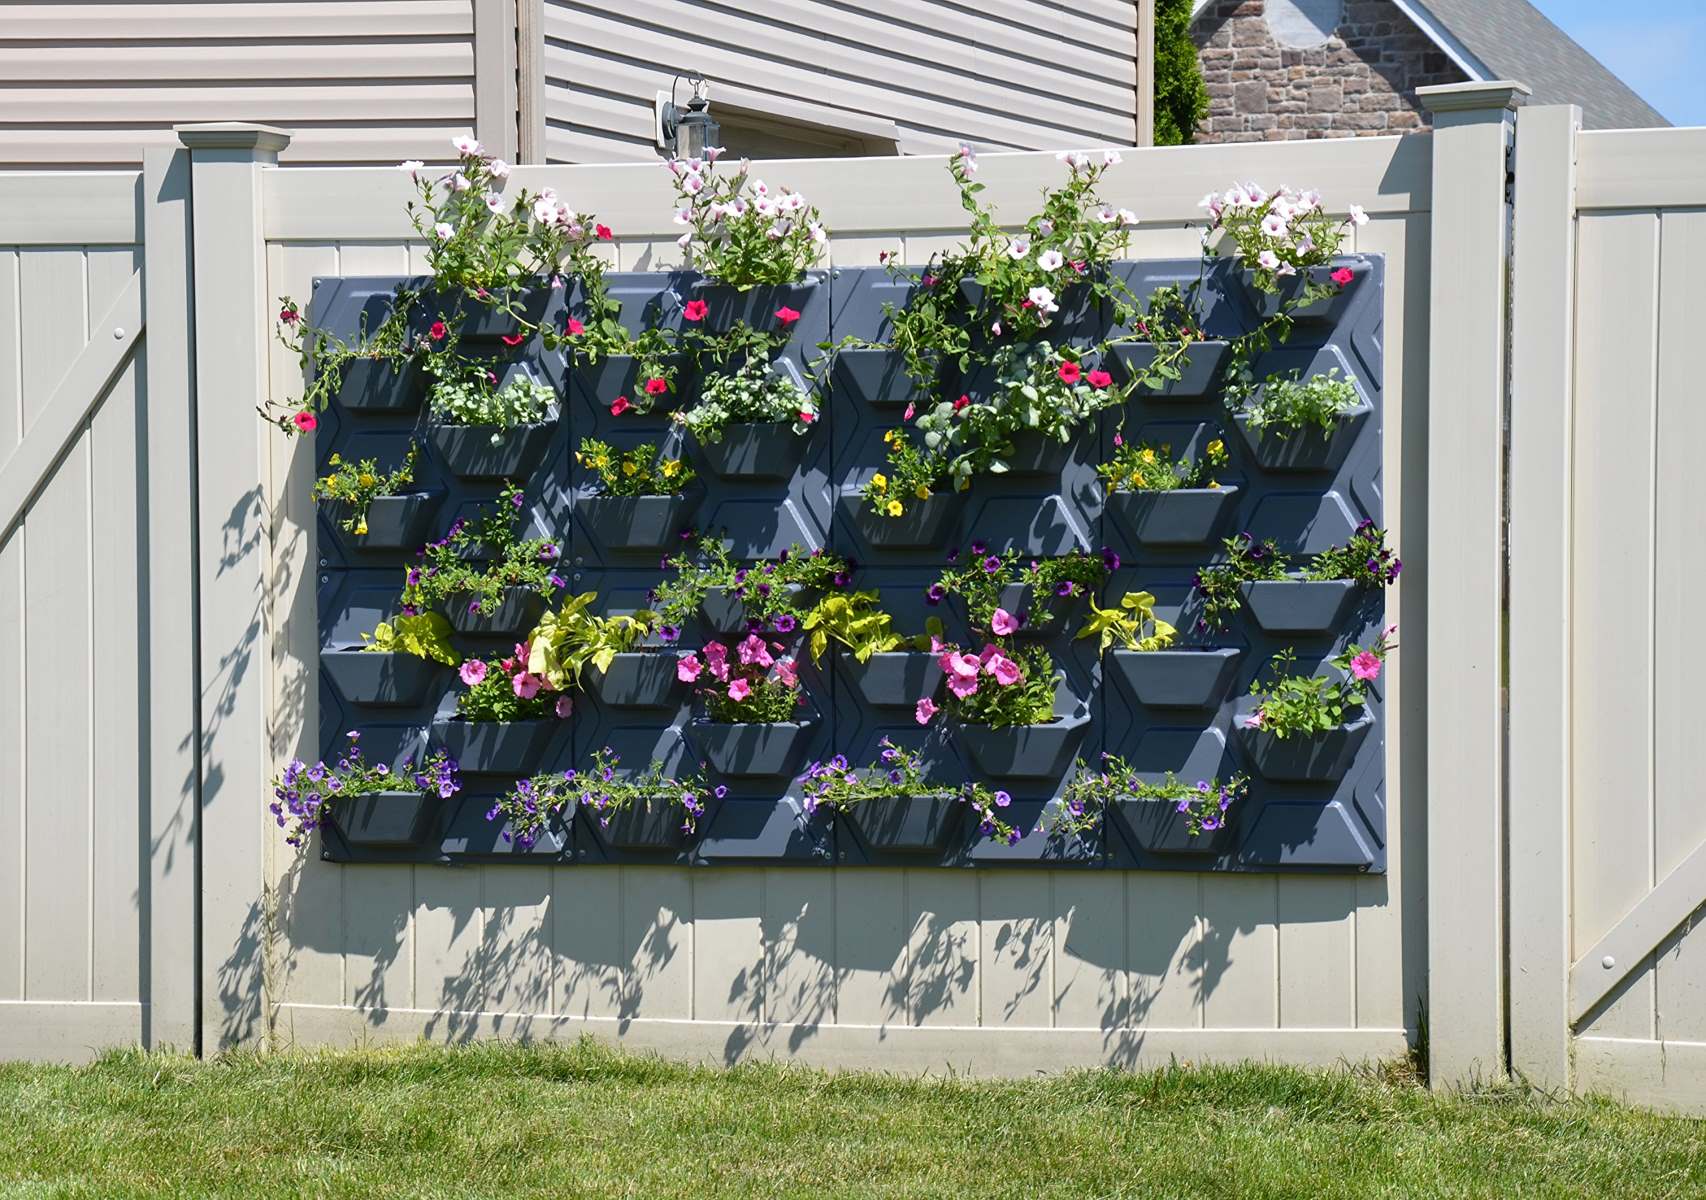
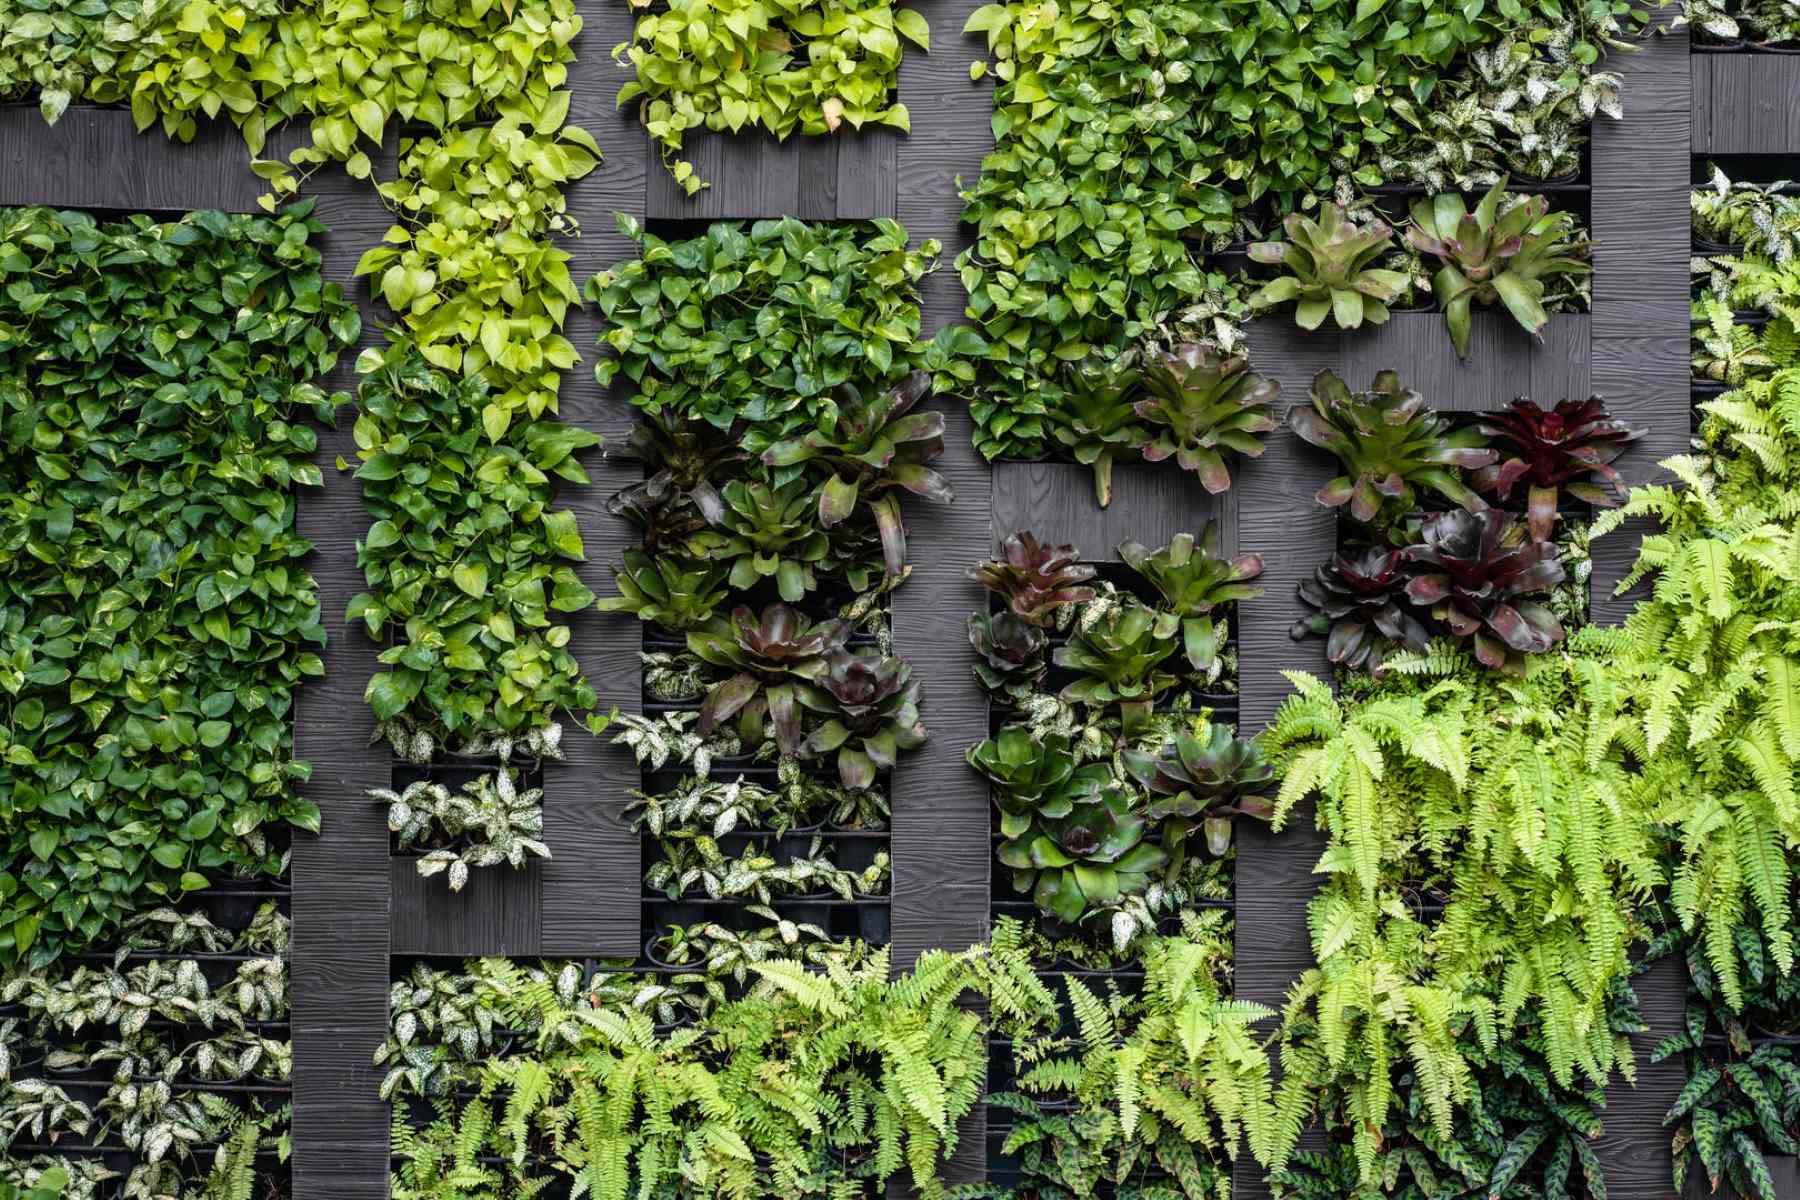
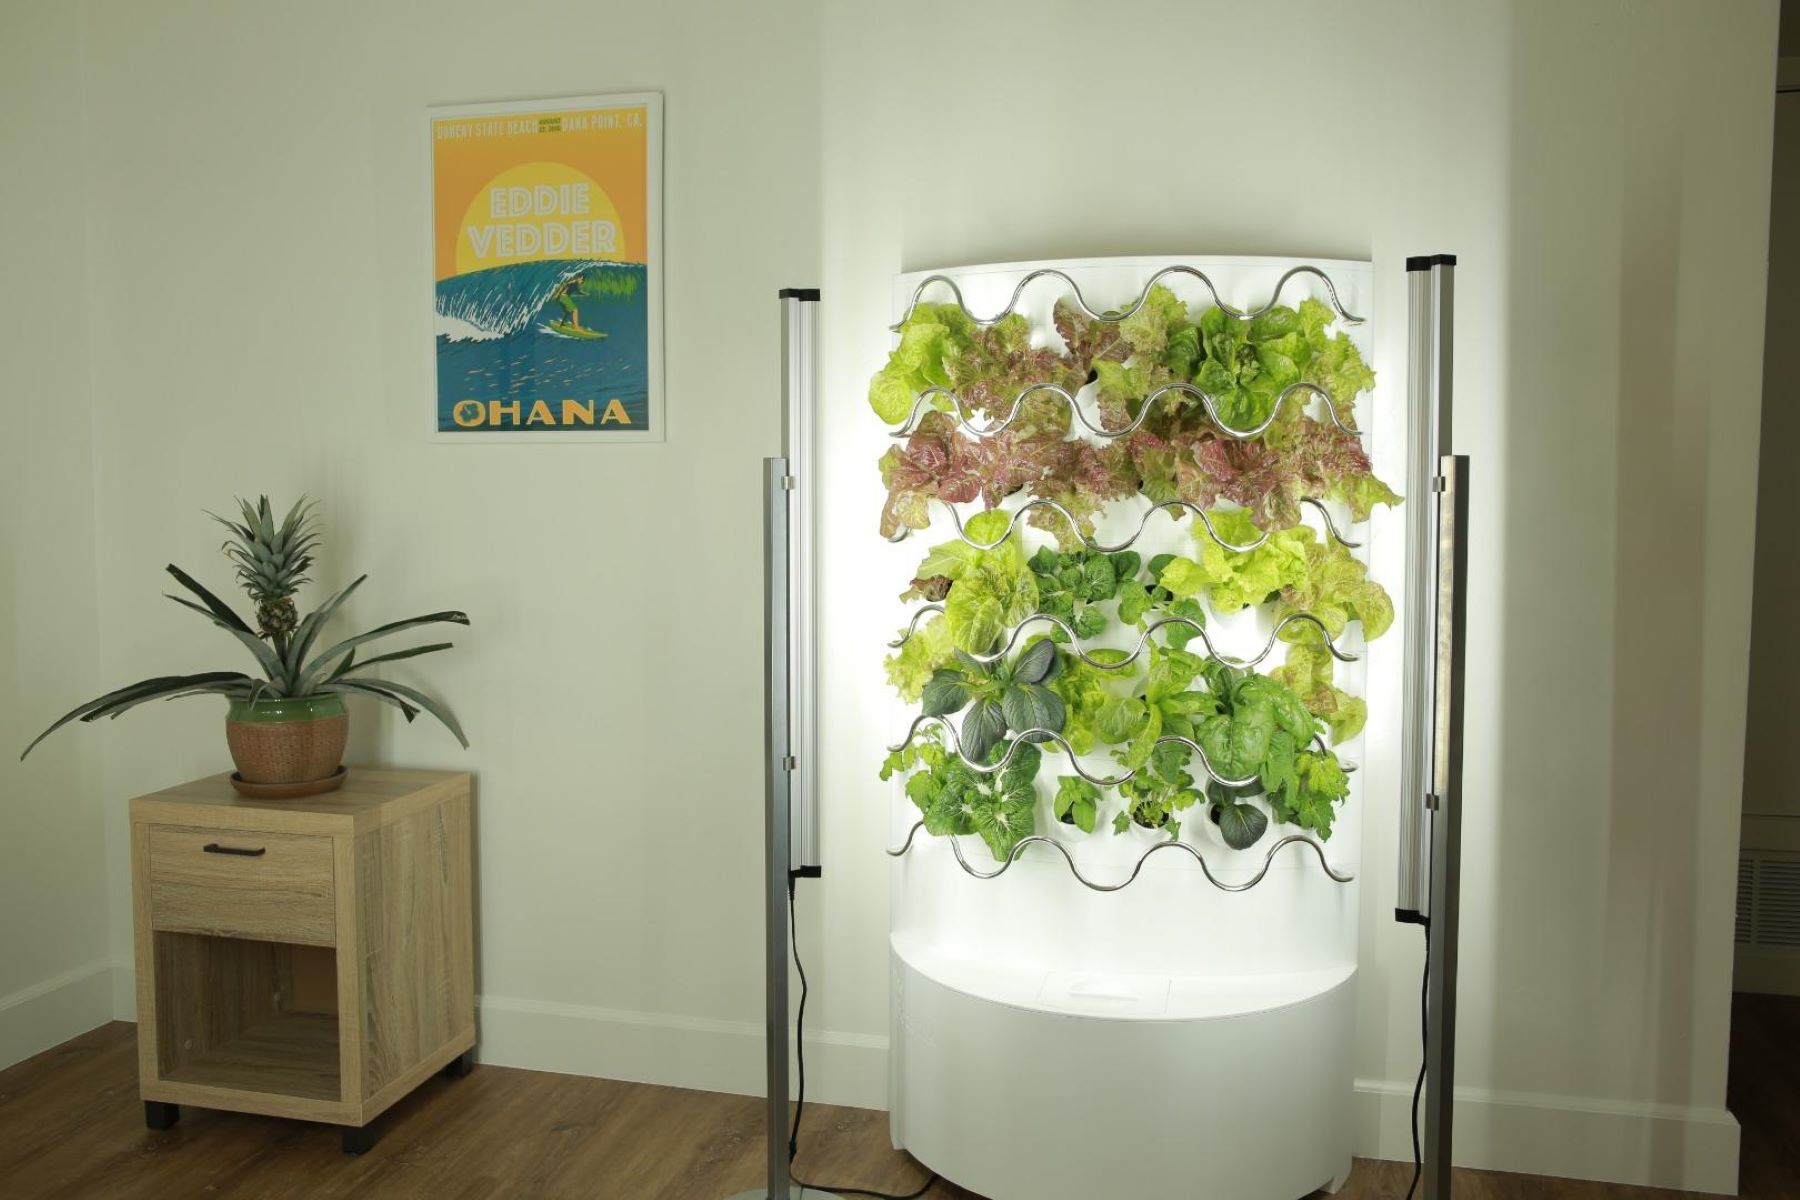
- Vertical garden planter: Choose a planter that suits your space and style. There are various types available, including hanging pockets, modular panels, and tower planters. Consider the size, material, and drainage options when selecting a vertical garden planter.
- Wall brackets or hanging hooks: These will be used to secure the vertical garden planter to the wall. Make sure they are strong and durable enough to hold the weight of the planter and plants.
- Drill and screws: You will need these to attach the wall brackets or hanging hooks to the wall. Choose screws that are appropriate for the type of wall you are working with.
- Stud finder: This tool will help you locate the wooden studs behind the wall. Attaching the wall brackets or hanging hooks to the studs will provide additional stability for the vertical garden planter.
- Plants and potting soil: Select plants that are suitable for vertical gardening and thrive in the available sunlight conditions. Ensure you have enough potting soil to fill the planter and support the root systems of your chosen plants.
- Watering can or hose: You will need a watering can or hose to regularly water the plants in your vertical garden. Consider the watering needs of your plants and choose a watering method that works best for you.
- Pruning shears: These will be handy for trimming and maintaining the plants in your vertical garden. Regular pruning helps promote healthy growth and keeps your garden looking neat and tidy.
- Optional: Drip irrigation system: If you prefer a more automated watering method, you can install a drip irrigation system. This system delivers water directly to the plant roots, ensuring efficient irrigation and reducing water waste.
Now that you have gathered all the necessary materials, let’s move on to the next step: choosing the right location for your vertical garden planter.
Step 1: Choosing the Location
The first step in hanging up your vertical garden planter is to choose the perfect location. Consider the following factors when selecting the placement for your planter:
Sunlight: Most plants require adequate sunlight to thrive. Observe the area you have in mind for your vertical garden and determine how much sunlight it receives throughout the day. Make sure to choose plants that are suitable for the available light conditions. If the location is shaded, opt for shade-loving plants, while sunny areas will allow for a wider variety of plant options.
Access: Consider the ease of access to your vertical garden. You will need to water and care for the plants regularly, so it’s essential to have a space that is easily reachable. If your planter is placed outdoors, make sure it is within reach of a hose or watering can.
Visual impact: Think about the aesthetic appeal of the location. Your vertical garden will serve as a decorative element, so choose a spot that enhances the overall look of your space. Consider vertical surfaces such as walls, fences, balconies, or even an unused corner of your room.
Structural support: Ensure that the location you choose can support the weight of the vertical garden planter, especially when it’s filled with soil and plants. If you plan on attaching the planter to a wall, make sure the wall is sturdy enough to hold the weight. Using wall studs or adding additional support may be necessary, depending on the size and weight of your planter.
Drainage: Proper drainage is crucial for the health of your plants. Select a location that allows excess water to drain freely without causing damage to the surrounding area. If you plan on placing the planter indoors, consider using a waterproof tray or liner to protect the floor or furniture.
After considering these factors, choose the location that best suits your needs and preferences. Once you have decided on the ideal spot, you’re ready to move on to the next step: preparing the wall for installation.
Step 2: Preparing the Wall
Before installing the support structure for your vertical garden planter, it’s important to properly prepare the wall to ensure a secure and stable installation. Follow these steps to prepare the wall:
- Clear the area: Remove any obstacles or objects from the wall where you plan to hang the vertical garden planter. This will provide a clear workspace and make the installation process easier.
- Locate wall studs: Use a stud finder to locate the wooden studs behind the wall. Studs provide better support and stability for the wall brackets or hanging hooks. Mark the positions of the studs using a pencil or tape.
- Clean the wall: Clean the surface of the wall to remove any dirt, dust, or debris. This will ensure better adhesion and proper installation.
- Measure and mark: Measure and mark the desired height for your vertical garden planter on the wall. Use a level to ensure the marks are straight and aligned.
- Attach wall brackets or hanging hooks: Depending on the type of vertical garden planter you have, attach the wall brackets or hanging hooks to the designated spots on the wall. If possible, screw them into the located studs for added strength and stability. Make sure they are securely attached and level.
By preparing the wall beforehand, you ensure that the installation process goes smoothly and your vertical garden planter is properly supported. With the wall now ready, you’re ready to move on to the next step: installing the support structure.
Step 3: Installing the Support Structure
With the wall prepared, it’s time to install the support structure for your vertical garden planter. The method for installing the support will depend on the type of planter you have chosen. Follow these steps to install the support structure:
- Align the planter: Position the planter against the wall, aligning it with the wall brackets or hanging hooks. Ensure that it is level and centered.
- Secure the planter: Depending on the design of your vertical garden planter, use the provided screws or clips to secure it to the wall brackets or hanging hooks. Follow the manufacturer’s instructions for proper installation. Check for stability and adjust if necessary.
- Test the weight: Gently push and pull on the planter to ensure it is securely fastened to the support structure. Double-check that it can support the weight of the planter and plants.
- Additional support: If you feel that additional support is needed, especially for larger or heavier planters, consider adding extra brackets, hooks, or even a support frame. This will provide added stability and prevent the planter from sagging or falling.
Once the support structure is installed and the planter is securely attached, take a step back and admire your work. You’re now one step closer to creating a stunning vertical garden. The next step will involve filling the planter with soil and planting your chosen greenery.
When hanging up a vertical garden planter, make sure to use sturdy hooks or brackets that can support the weight of the planter and the plants. Also, consider the amount of sunlight and water the plants will need in that location.
Read more: How To Grow A Vertical Garden
Step 4: Attaching the Vertical Garden Planter
Now that the support structure is in place, it’s time to attach the vertical garden planter. Follow these steps to properly attach the planter:
- Prepare the planter: If your planter has multiple pockets or panels, lay it flat on the ground or a stable surface. This will make it easier to fill with soil and plant your chosen greenery.
- Add potting soil: Fill each pocket or panel of the planter with potting soil, leaving enough space at the top for planting your desired plants. Gently pat down the soil to remove any air pockets.
- Choose and position your plants: Select plants that are suitable for vertical gardening and thrive in the available sunlight conditions. Place your plants in the designated pockets or panels, arranging them based on their size and growth habits. You can mix and match different plant varieties to create a visually appealing display.
- Secure the plants: As you position the plants, gently press the soil around their roots to ensure they are secure. Pay attention to spacing to allow room for growth and proper airflow. Avoid overcrowding, as this can lead to poor plant health.
- Water the plants: After planting, thoroughly water your vertical garden planter to ensure the soil is moist. This will help settle the soil and provide hydration to the newly planted greenery. Be careful not to overwater, as this can lead to root rot.
- Allow time for growth: Give your plants some time to adjust and establish their roots in the vertical garden planter. Monitor their growth and make adjustments as needed, such as pruning or repositioning.
By properly attaching the vertical garden planter and ensuring the plants have a suitable environment to grow, you are on your way to creating a lush and vibrant vertical garden. The next step will involve watering and maintaining your garden for optimal growth and health.
Step 5: Planting the Garden
Now that your vertical garden planter is securely attached and filled with soil, it’s time to plant your chosen greenery. Follow these steps to ensure successful planting:
- Choose your plants: Select plants that are suitable for vertical gardening and thrive in the available sunlight conditions. Consider factors such as sunlight requirements, growth habits, and color preferences. Choose a mix of trailing, upright, and bushy plants to create an aesthetically pleasing arrangement.
- Plan the layout: Before planting, envision the design you want to create in your vertical garden. Arrange the plants in a way that complements their growth habits and colors. Consider the height and spread of each plant, placing the taller ones towards the back and the trailing varieties towards the sides or bottom of the planter.
- Plant the tallest plants first: Start by planting the tallest plants at the back of the planter, ensuring they are positioned securely in the soil. Gently loosen the root ball and place the plant in the soil, backfilling around it and lightly pressing the soil to secure it.
- Continue with the shorter plants: Proceed to plant the shorter varieties, working your way towards the front of the planter. Dig holes in the soil, place the plants, and backfill around them as you did with the taller plants. Space them appropriately to allow for growth and airflow.
- Water thoroughly: After planting, water the entire vertical garden thoroughly. This will help settle the soil and ensure the plants receive the hydration they need. Be sure to water slowly and evenly, allowing the water to penetrate the entire planter.
- Monitor and adjust: Observe your vertical garden regularly and make any necessary adjustments. Keep an eye out for signs of overwatering or underwatering, and adjust your watering schedule accordingly. Monitor the growth of the plants and prune as needed to maintain the desired shape and size.
With your vertical garden now planted, take a step back and admire your green masterpiece. The next step will focus on watering and maintenance tips to keep your vertical garden thriving and vibrant.
Step 6: Watering and Maintenance Tips
Proper watering and maintenance are essential for the health and vitality of your vertical garden. Follow these tips to ensure your garden thrives:
- Watering: Pay attention to the moisture needs of your plants and water accordingly. The vertical garden may require more frequent watering than traditional gardens due to faster evaporation. Check the moisture level in the soil regularly and water when it feels dry to the touch. Be careful not to overwater, as it can lead to root rot. Consider using a drip irrigation system to automate watering and ensure consistent moisture levels.
- Fertilizing: Regularly feed your plants with a balanced fertilizer to provide essential nutrients. Follow the recommended dosage instructions on the fertilizer packaging. Liquid fertilizers can be applied through irrigation systems for convenient distribution.
- Pruning: Remove any dead or wilted leaves, flowers, or stems from your plants to promote healthy growth. Prune or trim as needed to maintain the desired shape and prevent overcrowding. This will also improve air circulation and reduce the risk of pests or diseases.
- Pest control: Keep an eye out for any signs of pests or diseases in your vertical garden. Regularly inspect the plants and take necessary measures to control pests or diseases, such as using organic pest repellents or applying appropriate treatments.
- Monitor sunlight: As your vertical garden grows, monitor how the sunlight patterns change. Some plants may require more or less sunlight as they mature. Adjust the position of the planter if necessary to ensure all plants receive the required amount of sunlight.
- Replace and repot: Over time, some plants may outgrow their space or require repotting. Keep an eye on the health and size of your plants and be prepared to replace or repot them when needed. This will ensure they continue to thrive in the vertical garden.
- Regular maintenance: Dedicate time for regular maintenance tasks such as checking for weeds, removing debris or fallen leaves, and cleaning the planter. This will keep your vertical garden tidy and prevent any issues that can arise from neglect.
By following these watering and maintenance tips, you can ensure that your vertical garden remains healthy and vibrant throughout the seasons. Remember to enjoy the process and the beauty of your green oasis.
Congratulations! You have successfully learned how to hang up a vertical garden planter and create a stunning vertical garden. With the right materials, proper preparation, and regular care, you can enjoy the beauty and benefits of a thriving vertical garden in your home or outdoor space.
So, go ahead and get started on creating your own vertical garden. Get creative, experiment with plant combinations, and enjoy the refreshing and visually appealing addition to your surroundings.
Conclusion
Vertical gardening allows you to maximize your gardening space and add a unique touch to your home or outdoor area. By following the steps outlined in this article, you can successfully hang up a vertical garden planter and create a stunning display of greenery.
Throughout the process, remember to choose a suitable location for your planter, ensuring adequate sunlight, access, and structural support. Properly preparing the wall and installing the support structure will ensure a stable and secure setup. Attaching the planter and planting your chosen greenery will bring life and color to your vertical garden.
Watering and maintaining your vertical garden is crucial for its ongoing health and vitality. Regular watering, fertilizing, pruning, and pest control will keep your plants thriving and looking their best. Additionally, monitoring sunlight patterns and making necessary adjustments will ensure optimal growth.
Remember to enjoy the process of creating and maintaining your vertical garden. It provides an opportunity to express your creativity, enhance your living space, and reconnect with nature. Take pleasure in watching your plants grow and flourish in their vertical habitat.
So, whether you have a small balcony, limited garden space, or simply want to add a unique touch to your home, consider hanging up a vertical garden planter. With the right materials, preparation, and care, you can enjoy the beauty and benefits of a thriving vertical garden.
Now, it’s time to get started! Gather your materials, choose your plants, and embark on the journey of creating your own stunning vertical garden. The rewards of a greener and more vibrant living space are waiting for you.
Frequently Asked Questions about How To Hang Up Vertical Garden Planter
Was this page helpful?
At Storables.com, we guarantee accurate and reliable information. Our content, validated by Expert Board Contributors, is crafted following stringent Editorial Policies. We're committed to providing you with well-researched, expert-backed insights for all your informational needs.


0 thoughts on “How To Hang Up Vertical Garden Planter”